Creating a Firebase Project
Prerequisites
Before you start, make sure you have:
- A Google account
Step 1: Go to Firebase Console
- Open your web browser and go to the Firebase Console.
- Sign in with your Google account if you are not already signed in.
Step 2: Create a New Project
-
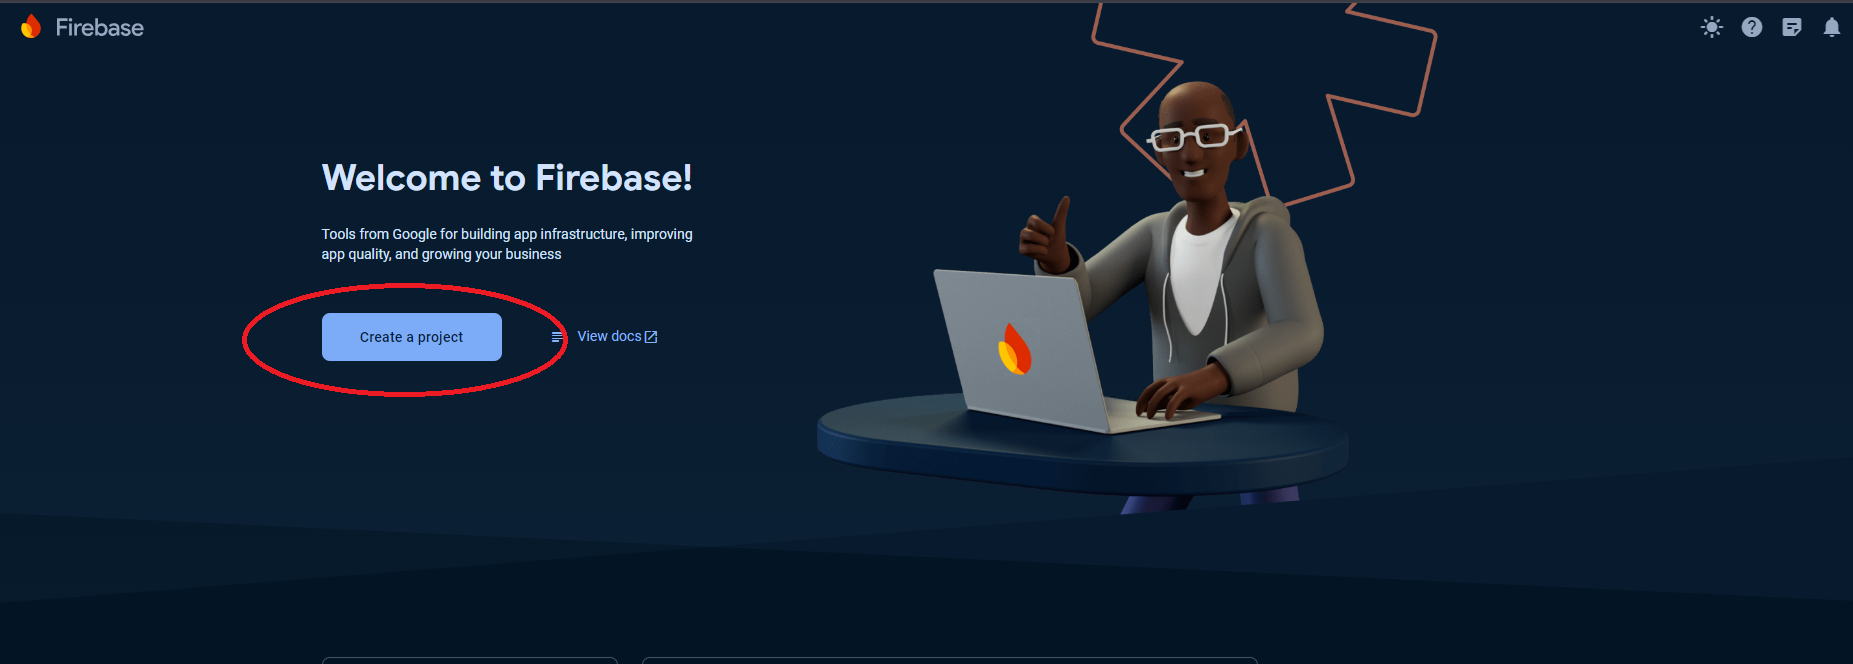
In the Firebase Console, click on the Create a project or Add project button.
-
Enter a project name. The project name should be descriptive and unique.

-
(Optional) You can also set up Google Analytics for your project. If you want to enable Google Analytics, select the Enable Google Analytics for this project checkbox. If not, uncheck the box.
-
Click Continue.
-
If you chose to enable Google Analytics, you will be prompted to select or create an Analytics account. Follow the on-screen instructions to set up your Analytics settings. Click Create project.
-
Firebase will set up your new project. This might take a few moments. Once the setup is complete, click Continue to proceed to your project dashboard.

Step 3: Create Firebase App
-
In the project overview page, click the Web icon to create a new web app.

-
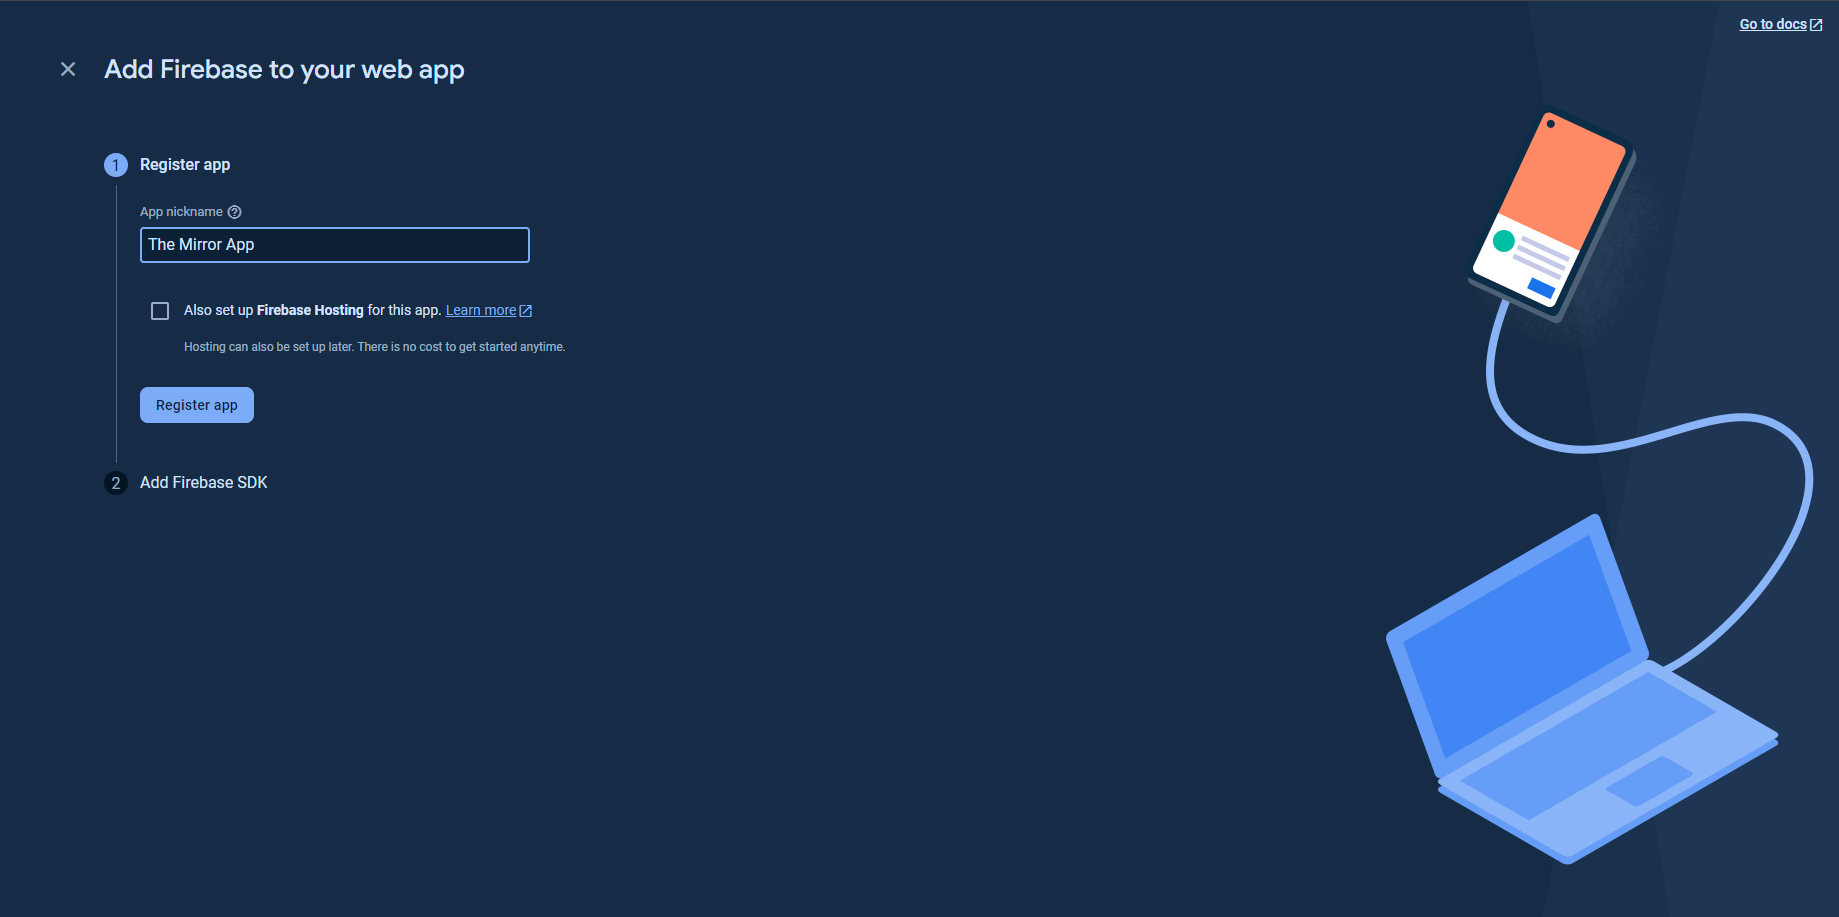
Register your app by entering a nickname for your web app and optionally set up Firebase Hosting.
-
Click Register app.
-
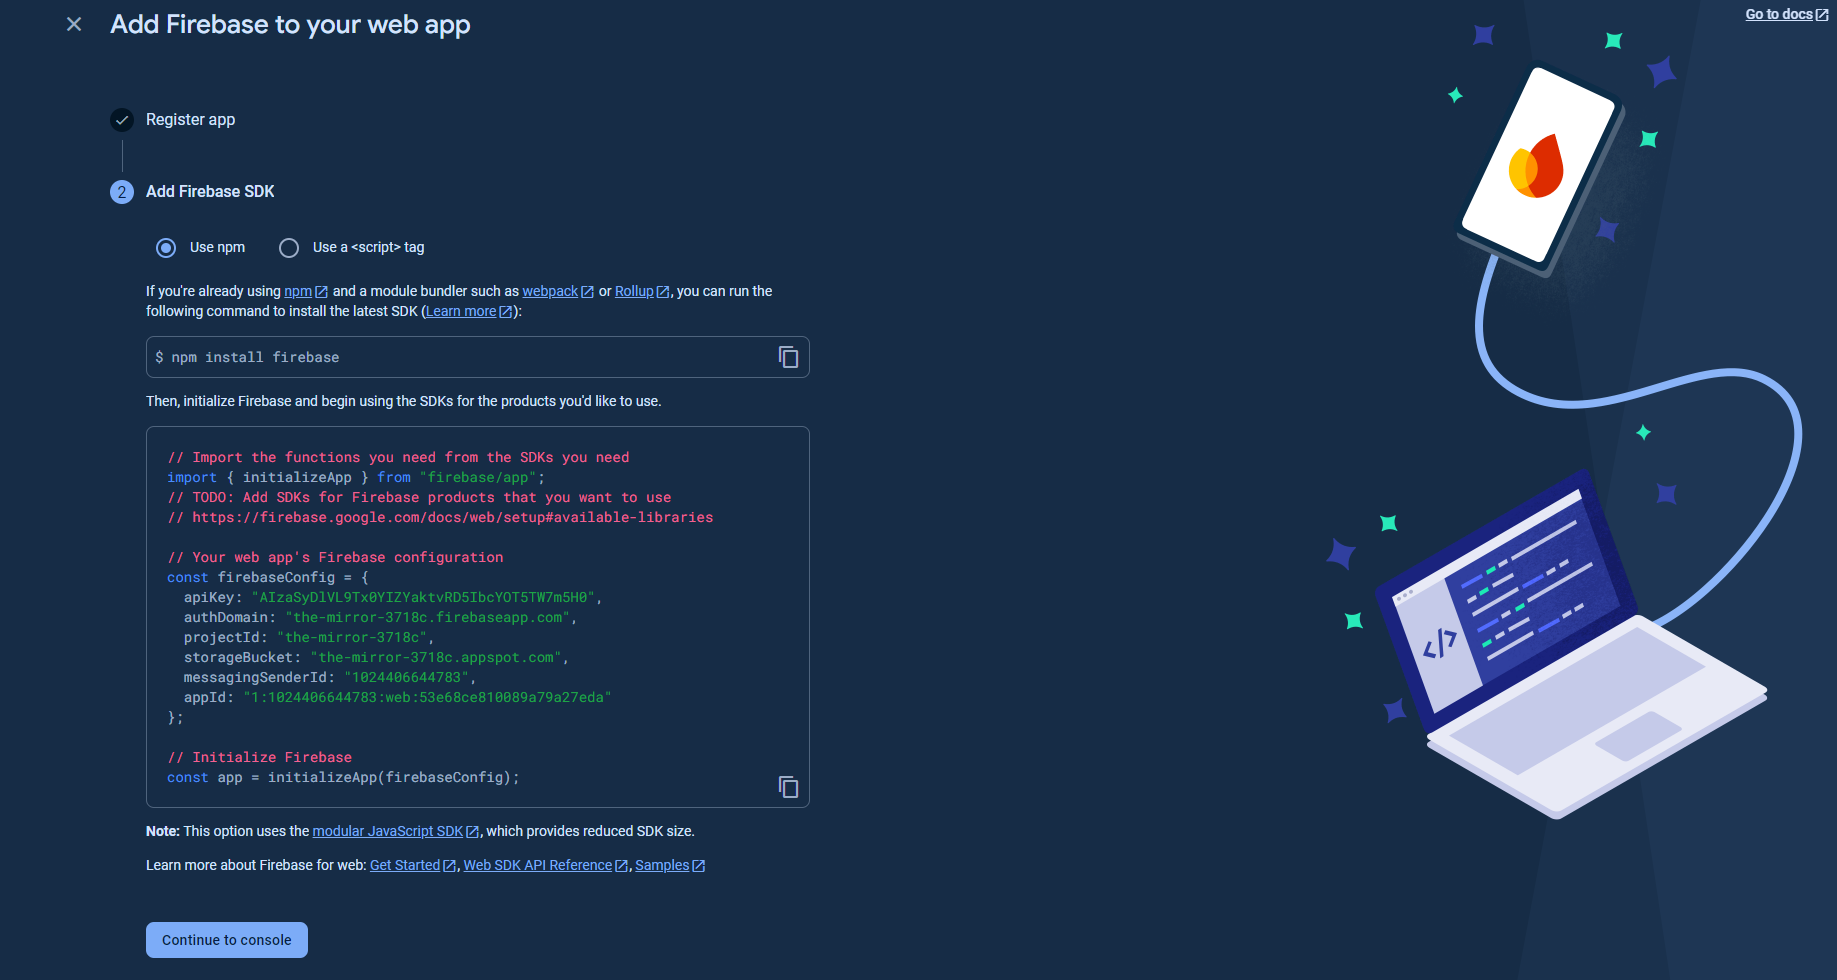
Firebase will generate a Firebase SDK snippet for you. To continue, click "Continue to console"
Step 3: Generate service account JSON
To interact with Firebase services programmatically, you need to generate a service account key file. Follow these steps to create the JSON file:
-
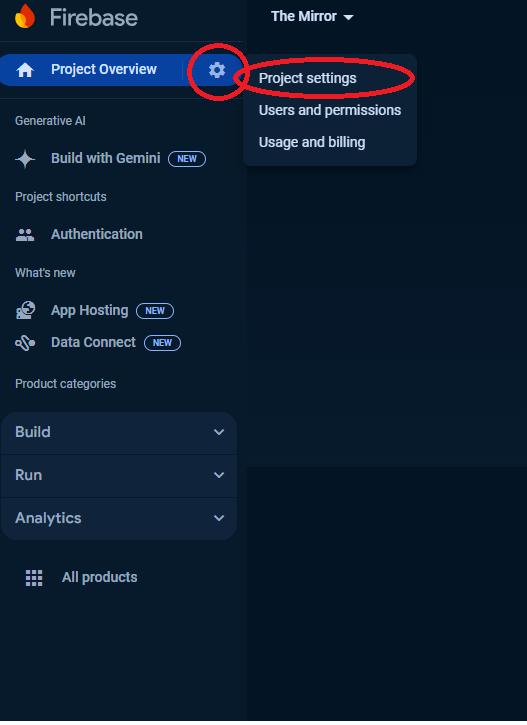
In the Firebase Console, click on the gear icon next to Project Overview and select Project settings.
-
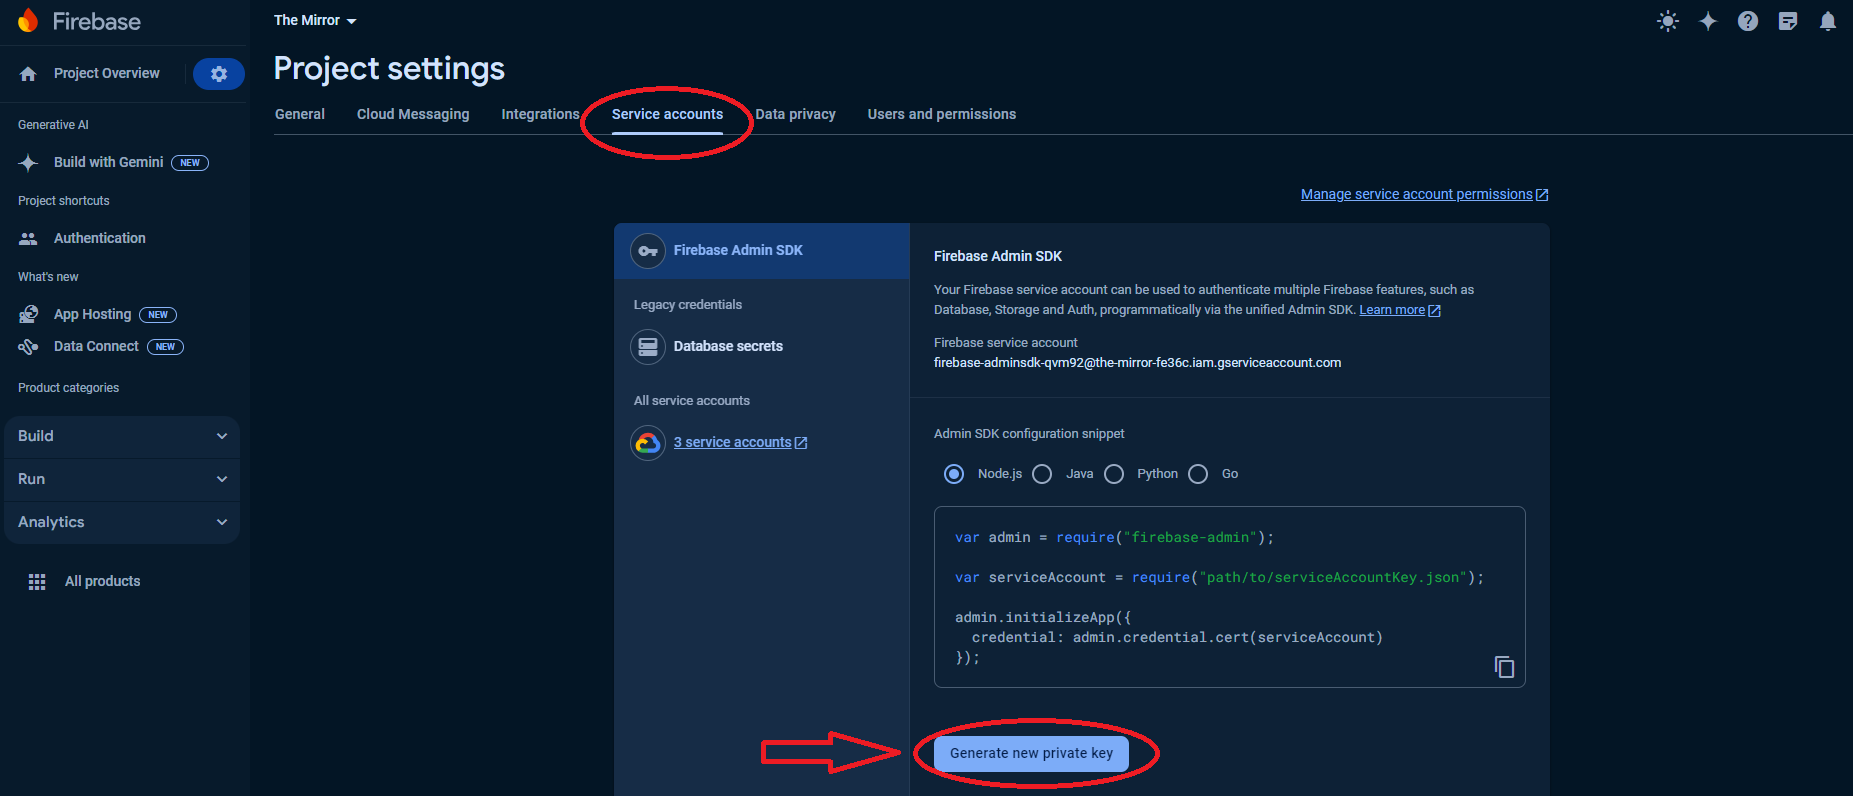
Go to the Service accounts tab.
-
Click the Generate new private key button.
-
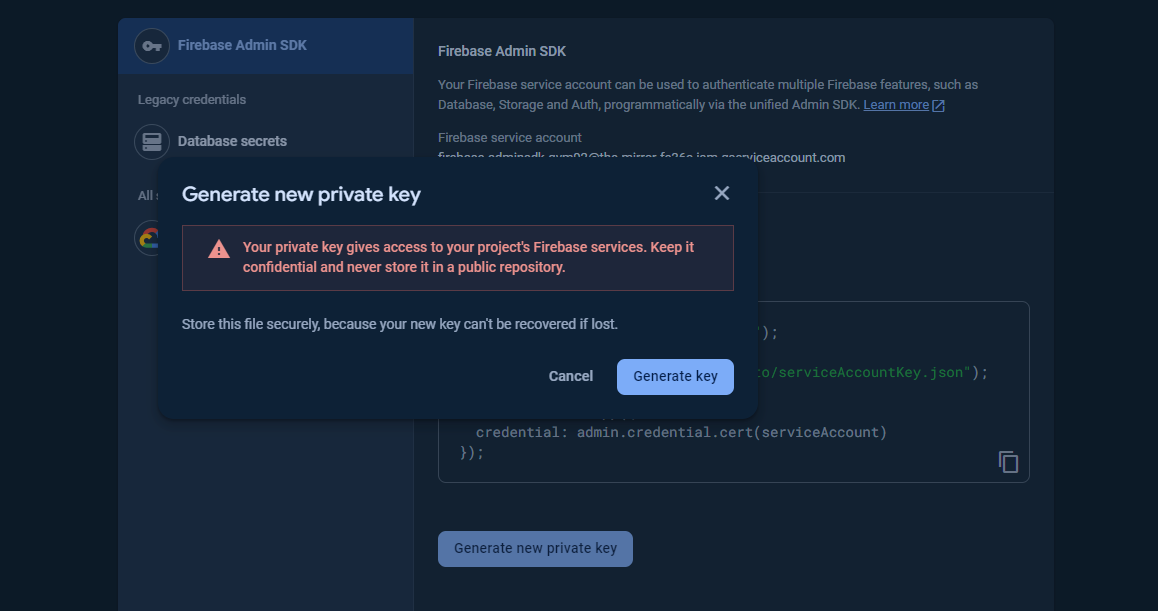
A dialog will appear. Click Generate key to confirm.
-
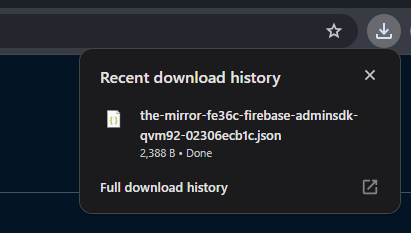
Your browser will download a JSON file containing your service account key. Save this file securely as it contains sensitive information.
